Monday, February 14, 2011

Happy Valentines Day!

Good evening all,

I hope your day was wonderful and filled with family and friends. I just wanted to share the card I made for my wonderful hubby, who just happened to get me paper for v-day (isn't he awesome!).

I didn't share this earlier because I didn't want to spill the beans about his card.

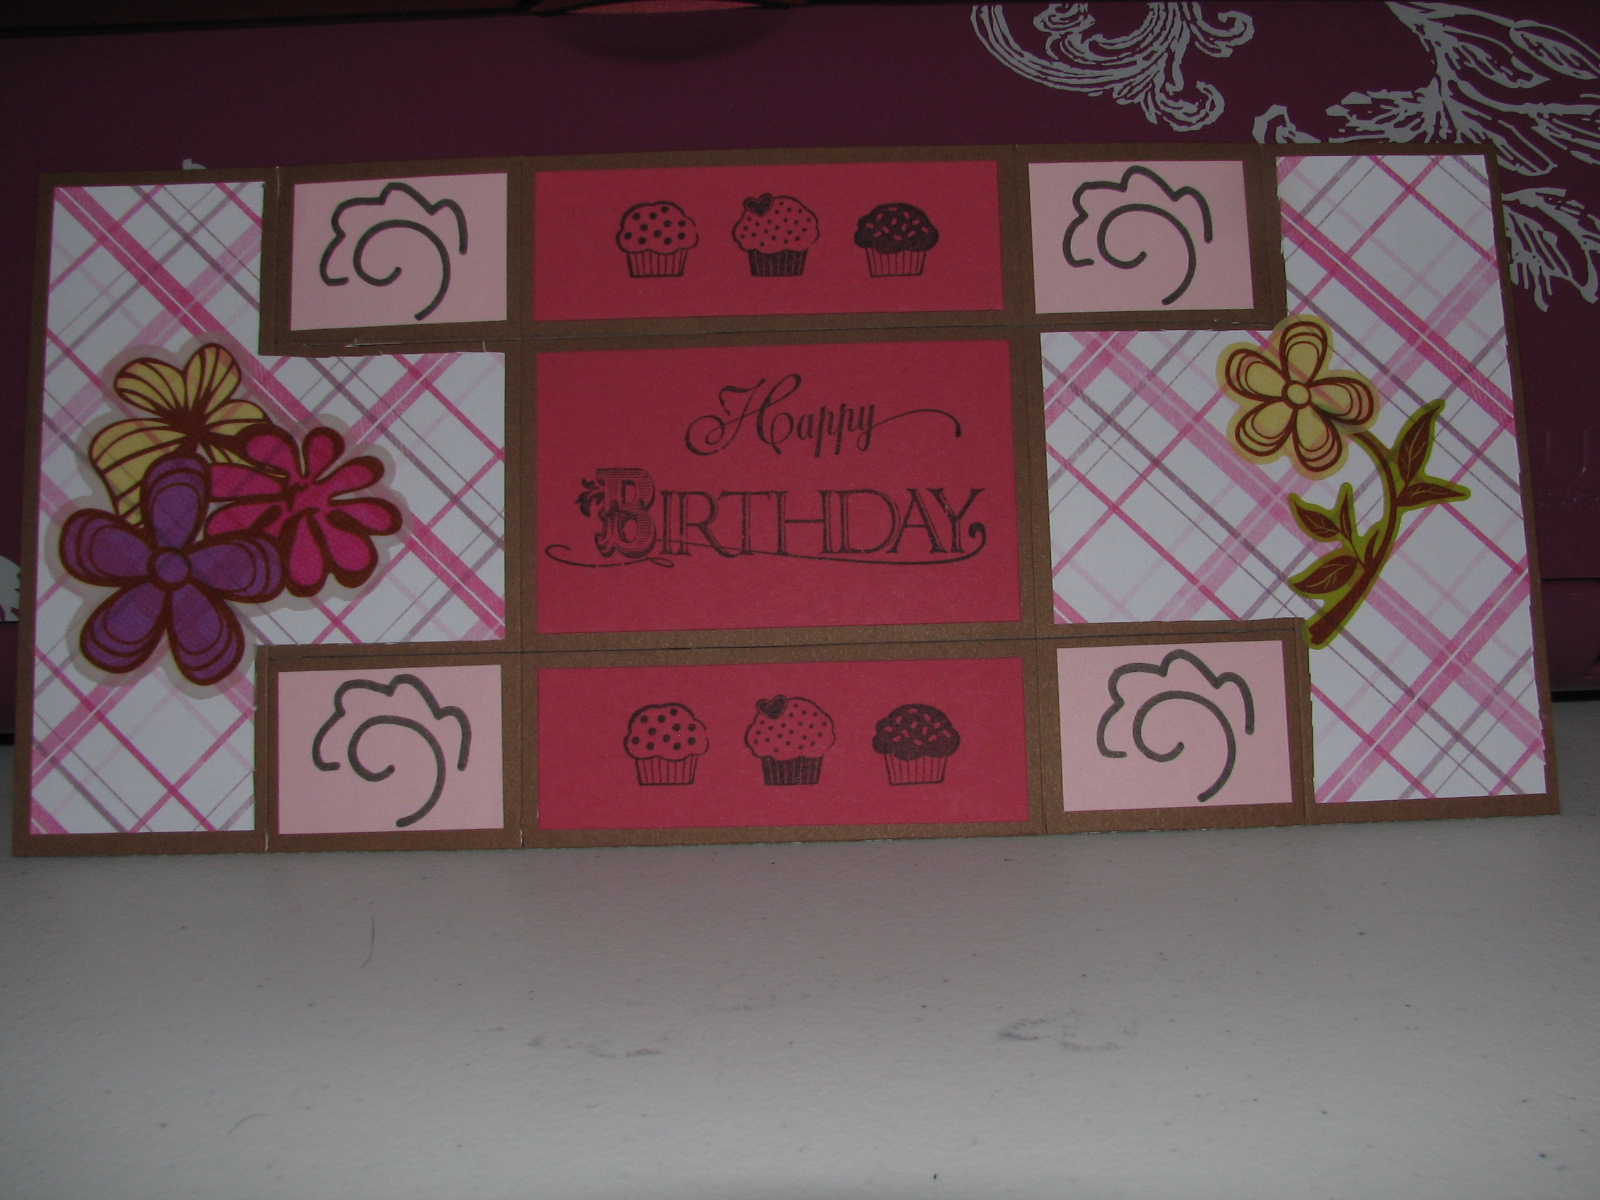
I decided that I enjoyed the Shutter card so much, that I wanted to make his card a Shutter card.


The Shutter card folds up to A2 size envelope (5 1/2 x 4 1/4).

Recipe:
Base is black generic card stock
All the colored paper is from Recollections All Seasons slab - in fact the red paper is all from the same piece of paper the black flower things were the corners of the paper and then the red paper with the strips is from the sides.
The center piece of red card stock was a scrap I had.
The heart was cut from Gypsy Wanderings at 2 - 3 inches (can't remember). I cut it from white card stock and then colored it gold with my Creative Memories gold wide tip pen.
The stitiching around the different panels is the Creative Memories gold fine tip pen.

I enjoyed making the card and he even got some compliements at work because I asked him to put it on his desk.

Have a great evening!
Robin

Sunday, February 6, 2011

Shutter card - birthday card

Good Superbowl Day all,

Hope you are all having a wonderful day.

Last night I was cruising around the various blogs that I follow and the Christy Blade Handmade blog had a Valentine's Day card called a 'shutter card.' I had never seen this design before, so of course, I Googled it.

One tutorial and one trial run later, I decided I had to try it out for real. As luck would have it I need another birthday card this month, so I used the Shutter card technique.

Here's the finished product and below I'll have the basics of making the card and my recipe.


The card itself is 5 1/2 x 12 inches and folds up to an A2 size card.

Cut the base and the score the card at 2, 4, 8, and 10 inches. Then measure 1 1/2 inches from the top and the bottom and make a cut along the length of the card from the 2 inch score to the 10 inch score.

I decided that my life would be decidedly easier if I put all the decorations on the card BEFORE I did the folding. It turns out I was right. :-)


I can't give you the exact measurements for the paper on top of my base, except for that I took 1/4 inch off the original measurement so that I would see some of the base around my paper.

Now here's my recipe:
Plaid type paper is from Recollections ALL GIRL stack
The solid card stock is all generic card stock
The Happy Birthday is from Inkadinkado
The cupcakes are fromTPC Studio 'Hugs and Kisses'
Stickers from Creative Memories Simply Beautiful color pallate
The doodles were made using the Doodles template from Creative Memories

Hope you enjoy your day and good luck to whomever your favorite team is!
Robin

Tuesday, February 1, 2011

Birthday card for my pop

Hi all,

My Dad's 63rd birthday is this week so I wanted to make him a birthday card. I have been wracking my brain about what to put on the card.

Finally, I looked at my CM Reminisce Accents cartridge and decided that I wanted to use the scrolls from the cart.


Recipe:
Orange card stock is from a stack from Wal-mart (can't remember it's name)
Brown is from a card stock pack from Michaels
Red (scrolls) is generic
The scrolls are cut at 1 1/2 inches from CM Reminisce Accents cart
Used CM chalking brown ink to ink the paper tear
Happy Birthday stamp from Inkadinkado
Generic black ink

I hope he likes it.

If you are somewhere with the horrible snow, keep safe and warm.

Until later,
Robin